
Chub
The Binding of Isaac: RebirthA short tell leads into a straight charge that stops at terrain. Obstacles and lane width define the attack.
Charge is a high-speed attack: the boss aims, locks its direction, and rushes forward without turning. The mechanic works well when the clear lock makes the path predictable, sideways movement provides a reachable response, and recovery creates an opening for a counterattack.
Danger lane
Autoplay is disabled by the reduced-motion setting. Use the timeline slider to inspect the loop.
Tune tracking, the lock cue, the danger lane, and recovery.
Choose a fixed moment. Mark it with a pose, sound, or effect.
Compare lane width, player speed, and the time between lock and impact.
Include the time needed to return to range and complete an attack.
If tracking and lock look the same, hits feel arbitrary.
If recovery ends before the player can reach the boss, the promised opening is not real.
Make the basic escape work without a special ability unless that ability is the lesson.
The visible danger lane must match the real hitbox.
Movement, range, damage, and invulnerability can change how the attack works.
A long, open lane makes the attack easy to read. Avoid obstacles that hide the boss or the escape route.
Test the attack against the abilities already available to the player. If the boss blocks an attack, show it clearly and keep another response useful.
A charge threatens a full lane. A dash changes position. A lunge is a short attack. This page shows one kind of charge.
A short tell leads into a straight charge that stops at terrain. Obstacles and lane width define the attack.
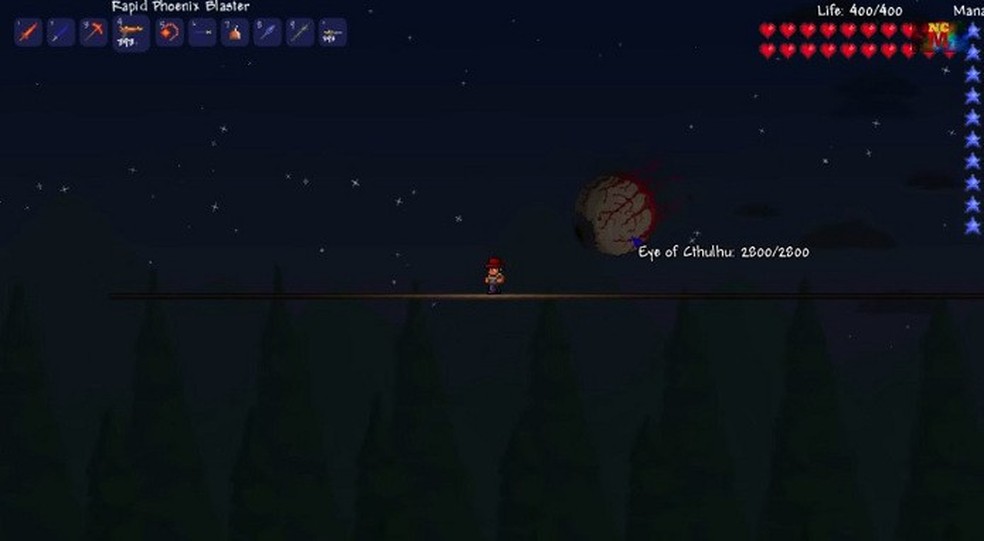
Its second phase chains fast charges from different angles. Shorter gaps turn one readable move into sustained pressure.
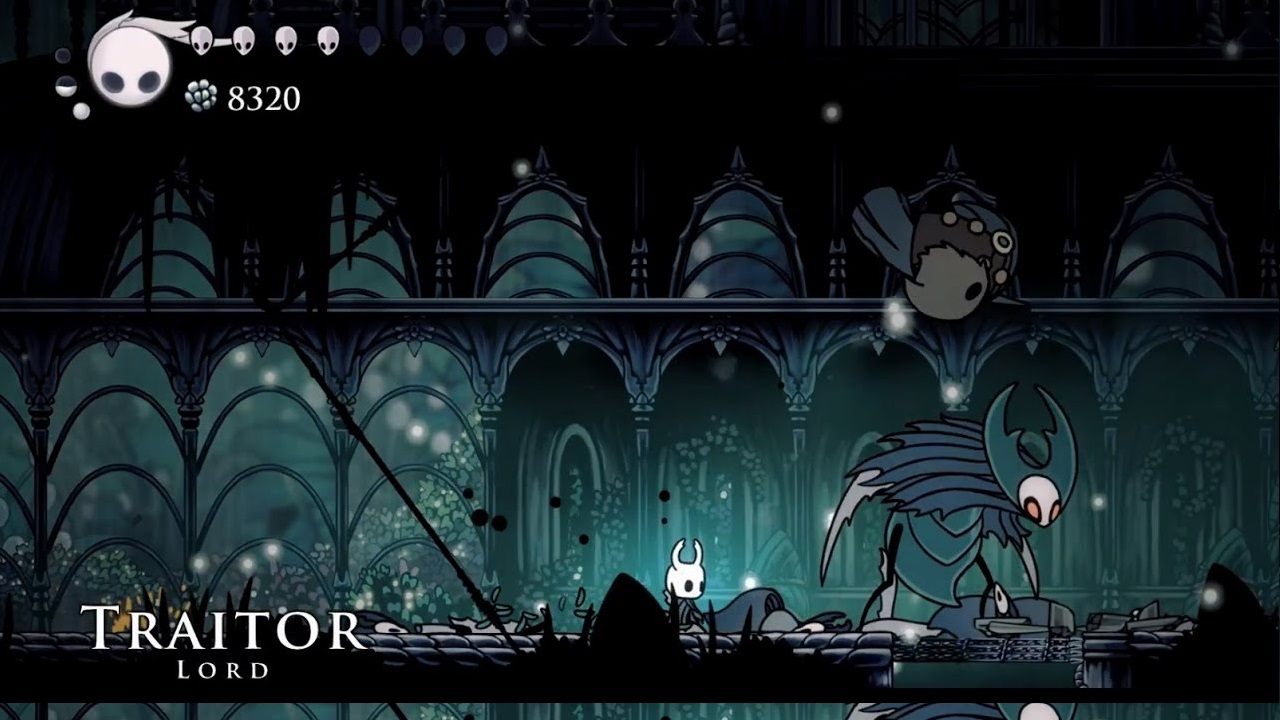
A brief lean-back signals a horizontal dash. The small arena and high damage demand a very clear cue.

Long runs, wide turns, and walls make momentum part of the encounter. The charge stays readable even when its path curves.

The lowered head announces a long rush. Body size and the open arena make distance and lateral clearance easy to read.

Brief tracking leads into a long arena-crossing charge. A circular room and 3D camera make the safe side harder to judge.
Found an inaccuracy or have a suggestion for this page? Propose an edit on GitHub